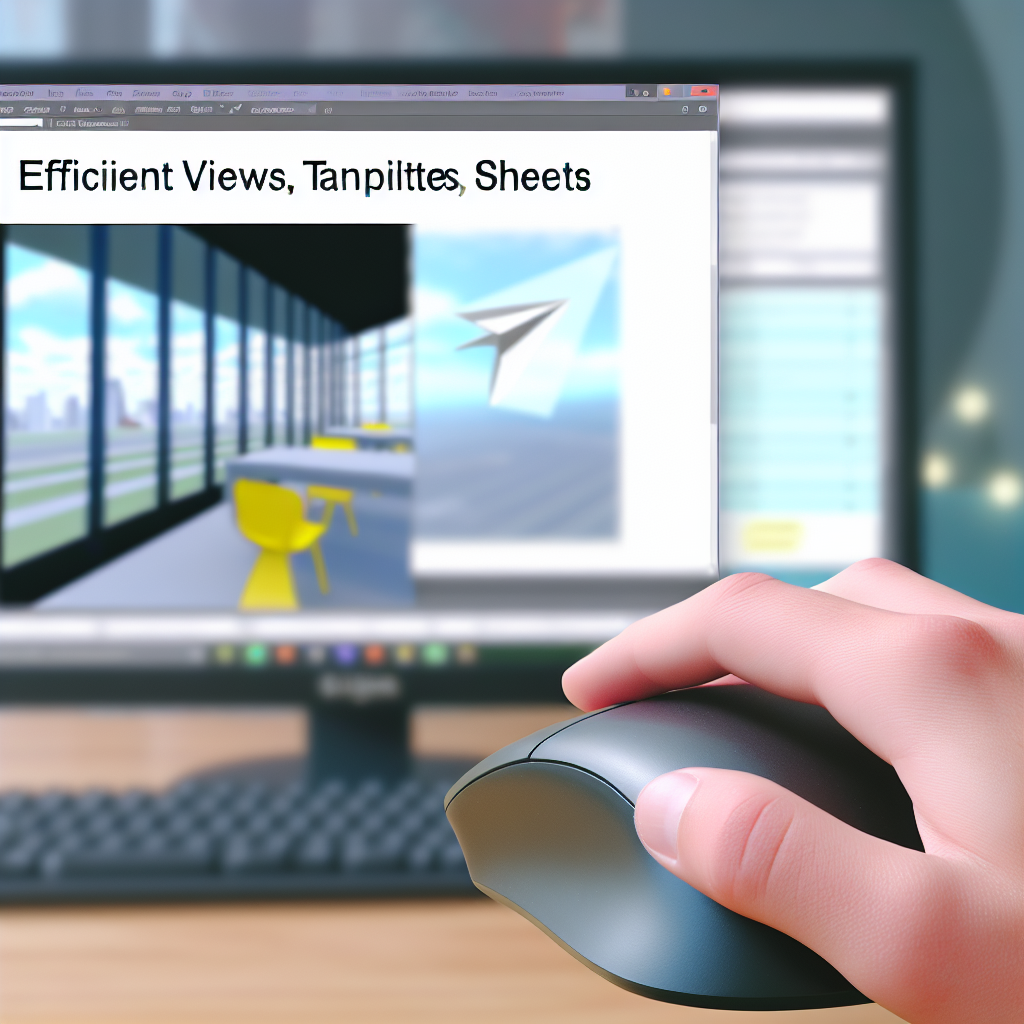
Transferring **views, view templates, and sheets** between Revit files is a common task that can significantly streamline your workflow and maintain consistency across projects. Understanding how to efficiently move these elements ensures better project management, saves time, and avoids errors. In this article, we will explore effective methods to transfer these components within Revit.
Understanding the Transfer Process: Views, Templates, and Sheets in Revit
Before diving into the transfer techniques, it’s crucial to understand the relationship between views, view templates, and sheets in Revit. Views are individual representations of your model—drawing views, 3D views, etc. View templates are settings that control visual styles, annotations, and display options for multiple views. Sheets are the sheets or paper space where views are placed to create construction documents.
Efficiently transferring these elements involves knowing the differences between them and adopting best practices to avoid common pitfalls such as lost view settings or misaligned sheets. This section explores why transferring these components correctly is vital for project consistency and how they interrelate.
Methods to Transfer Views, View Templates, and Sheets
Many Revit users rely on built-in features and some strategic workflows to transfer views, view templates, and sheets between files. Some effective techniques include:
- Copy/Monitor Tool: Use the Copy/Monitor feature to transfer specific views and related elements, especially for coordinated model data. While primarily used for model elements, it can assist in copying views if the project setup allows.
- Transfer Project Standards: This tool allows you to transfer **view templates**, **shared parameters**, and **annotation styles** from one project to another, ensuring consistency in visual standards across files.
- Save Views and Sheets as Templates: Save specific views, sheets, or view templates as **Revit templates (.rte)**. When creating new files, load these templates to replicate your preferred view setups quickly.
- Duplicate Views and Create Templates: To transfer views between files, duplicate views, modify as needed, and then save them. For sheets, you can copy views into new sheets or import sheets via **Revit schedules** and **view templates**.
For complex projects where multiple views and sheets need to be duplicated or standardized, adopting a consistent workflow—such as creating and sharing view templates—streamlines the process and minimizes errors. Additionally, plugins like Dynamo can automate these tasks for advanced users.
Best Practices and Tips for Seamless Transfer
To optimize your workflow, consider these best practices:
- Standardize view templates: Utilize standard view templates across projects to ensure uniformity and make transferring settings straightforward.
- Organize sheets logically: Keep sheets and views well-organized with clear naming conventions, which simplifies manual transfer and management.
- Use shared parameters: When transferring views or sheets, ensure shared parameters are consistent to prevent data loss or misinterpretation.
- Leverage Revit Templates: Build comprehensive project templates that include commonly used views and sheets, reducing setup time in new projects.
When combined effectively, these methods and best practices allow you to transfer views, view templates, and sheets seamlessly, ensuring a consistent and efficient project delivery process in Revit.
Conclusion
Transferring **views, view templates, and sheets** between Revit files is essential for maintaining project consistency and speeding up your workflow. By understanding the available methods—such as using transfer project standards, templates, and plugins—you can streamline the process and reduce errors. Adopting best practices further enhances your productivity, making project management in Revit more efficient and organized.