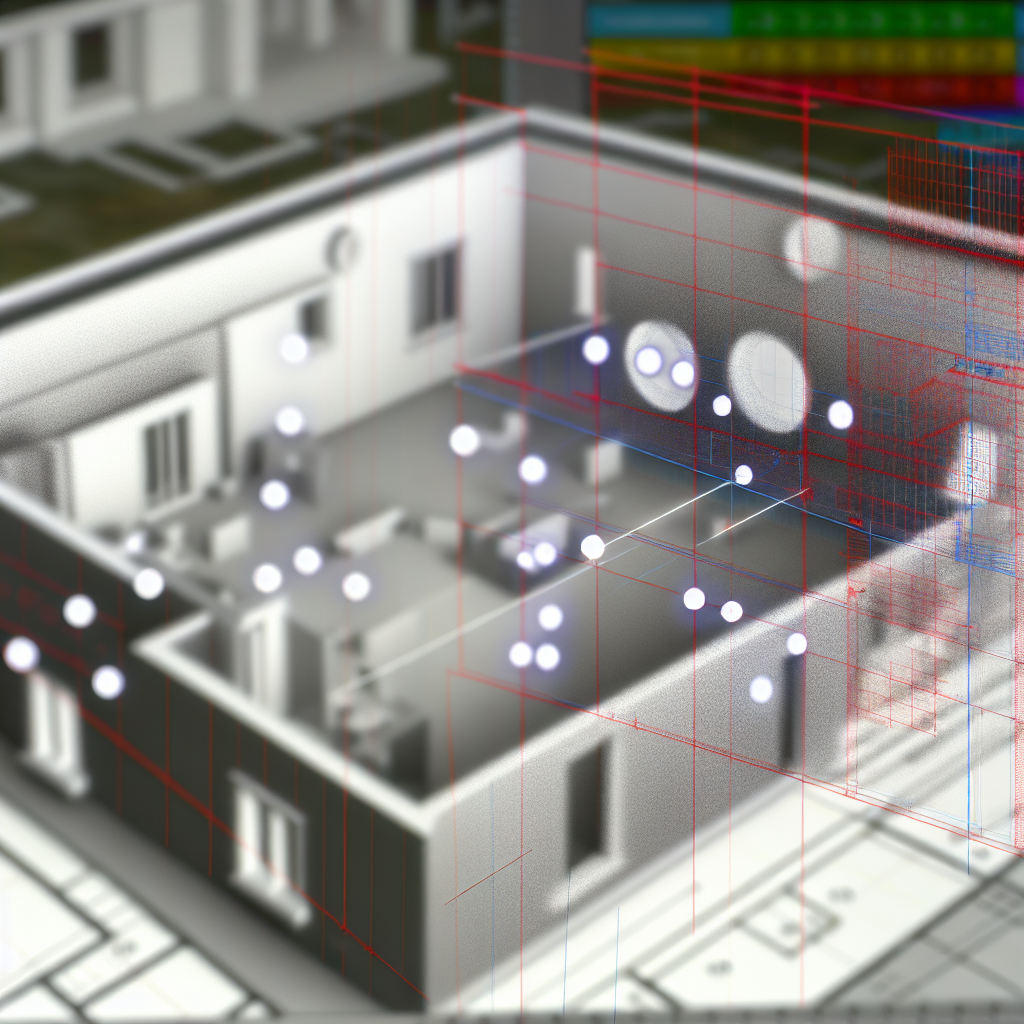
Temporary Dimensions in Revit are a powerful yet often underutilized tool that can significantly enhance your workflow, especially for design beginners and civil engineers. Understanding how to effectively incorporate and manage temporary dimensions can improve accuracy, speed up modeling, and facilitate better coordination. In this article, we will explore the essentials of using Temporary Dimensions in Revit and how they can streamline your design process.
Understanding Temporary Dimensions in Revit
Temporary Dimensions are dynamic, on-screen measurement guides that help users quickly assess and modify element positions without altering the actual model parameters permanently. These dimensions are especially helpful during initial design phases or when precise alignment and spacing are necessary. They are non-destructive and vanish once the adjustment is complete, ensuring a clean model environment.
To activate Temporary Dimensions, simply select an element or a group of elements, and Revit will automatically display the relevant guides. These dimensions appear as dotted lines with numeric values, providing visual cues for distances, angles, or alignments. As you move or adjust elements using these guides, you leverage real-time feedback, fostering accuracy and efficiency.
How to Use Temporary Dimensions Effectively in Revit
Mastering Temporary Dimensions involves understanding their key features and best practices:
- Activation and Visibility: Generally, Temporary Dimensions are visible by default when selecting elements. However, you can toggle their visibility through the “Options Bar” or via user preferences, ensuring a clutter-free workspace when needed.
- Adjusting Elements: Click and drag the Dimension line or the value to modify element positions. Revit provides real-time updates, allowing for precise placement aligned with your design intent.
- Using Modifier Keys: Hold down specific keys (e.g., Tab) to switch between different measurement guides or to lock certain dimensions. This helps in maintaining consistency when working on complex designs.
- Temporary Dimensions vs. Permanent Dimensions: Always remember that Temporary Dimensions are meant for quick, on-the-fly adjustments. For permanent changes, use the “Modify” tools and parameter settings to ensure your model’s data integrity.
Additionally, for civil engineering projects, Temporary Dimensions are perfect for spatial adjustments, ensuring that elements like beams, columns, and foundations are correctly aligned before finalizing details. They allow for quick iterations, reducing the need for repetitive modeling work.
Conclusion
In summary, Temporary Dimensions in Revit are essential tools that facilitate flexible, precise, and efficient modeling, especially beneficial for beginners and civil engineers. By understanding how to activate, interpret, and effectively use these guides, you can significantly improve your workflow, ensuring accuracy without cluttering your model. Embrace this feature to optimize your Revit projects and enhance your design process.
