Revit Materials 101 – How to Download and Use .ADSKLIB Revit Material Libraries in Your Projects
Understanding how to effectively utilize Revit material libraries, especially the .ADSKLIB files, is essential for enhancing your BIM projects. In this article, we will explore how to download, install, and manage these libraries to elevate the realism and accuracy of your designs. Whether you’re a beginner or an experienced user, mastering this process can significantly streamline your workflow.
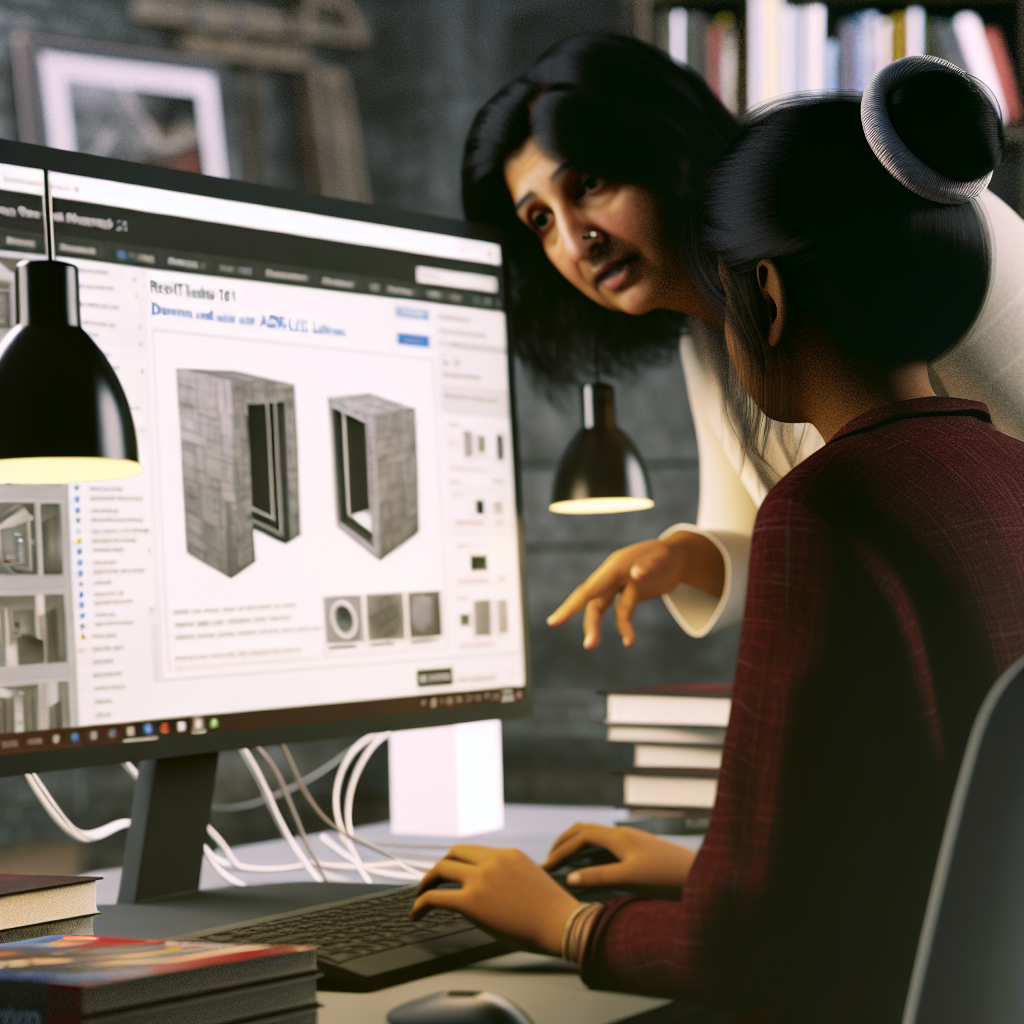
Accessing and Downloading .ADSKLIB Material Libraries for Revit
Revit’s robust material library can be expanded infinitely through downloadable content, with the .ADSKLIB file format being a popular choice for custom and manufacturer-specific materials. Typically, these libraries are provided by Autodesk, third-party vendors, or material manufacturers to add more detailed, realistic, and accurate materials to your projects.
Steps to download .ADSKLIB files:
- Visit trusted sources: Autodesk’s official website, reputable third-party providers, or material manufacturers often host .ADSKLIB files. Ensure that you download from high-quality, reputable sources to avoid security risks.
- Select compatible files: Make sure the .ADSKLIB library matches your Revit version and project requirements.
- Download the files: Save them to a designated folder on your computer for easy access.
Importing and Utilizing .ADSKLIB Libraries in Revit
Once you’ve downloaded the desired material libraries, the next step involves importing them into Revit to start using these materials in your projects. Proper organization and understanding of the process can make material management much more efficient and enhance your project presentation.
Steps to import and apply materials:
- Open Revit: Launch your project and go to the Manage tab.
- Access the Material Browser: Click on Materials to open the Material Browser dialog box.
- Import libraries: In the Material Browser, click on the Import Material Library button or option. Navigate to your saved .ADSKLIB files and select the desired library.
- Organize imported materials: Once imported, materials are available in your library. You can assign these materials to elements in your project or tweak their properties for better realism.
- Apply materials to elements: Select elements in your model, then assign the new materials from your imported library, ensuring consistency and visual accuracy across your project.
Tip: Keep a well-organized folder structure for your libraries and regularly update them to include new materials, ensuring your workflow remains efficient and up-to-date.
Conclusion
Mastering the process of downloading, importing, and applying .ADSKLIB material libraries in Revit enhances your project’s realism and efficiency. By sourcing high-quality libraries and managing them effectively within Revit’s Material Browser, you can significantly elevate the visual fidelity of your designs. Embrace these steps to streamline your workflow and achieve more professional, detailed results in your BIM projects.