Creating engaging and dynamic presentations is essential for capturing your audience’s attention. One powerful way to enhance your slides is by using the Morph transition in PowerPoint. This quick tutorial will guide you through the simple steps to add cool animation effects, making your presentations more vivid and memorable.
Understanding Morph: The Key to Seamless Transitions
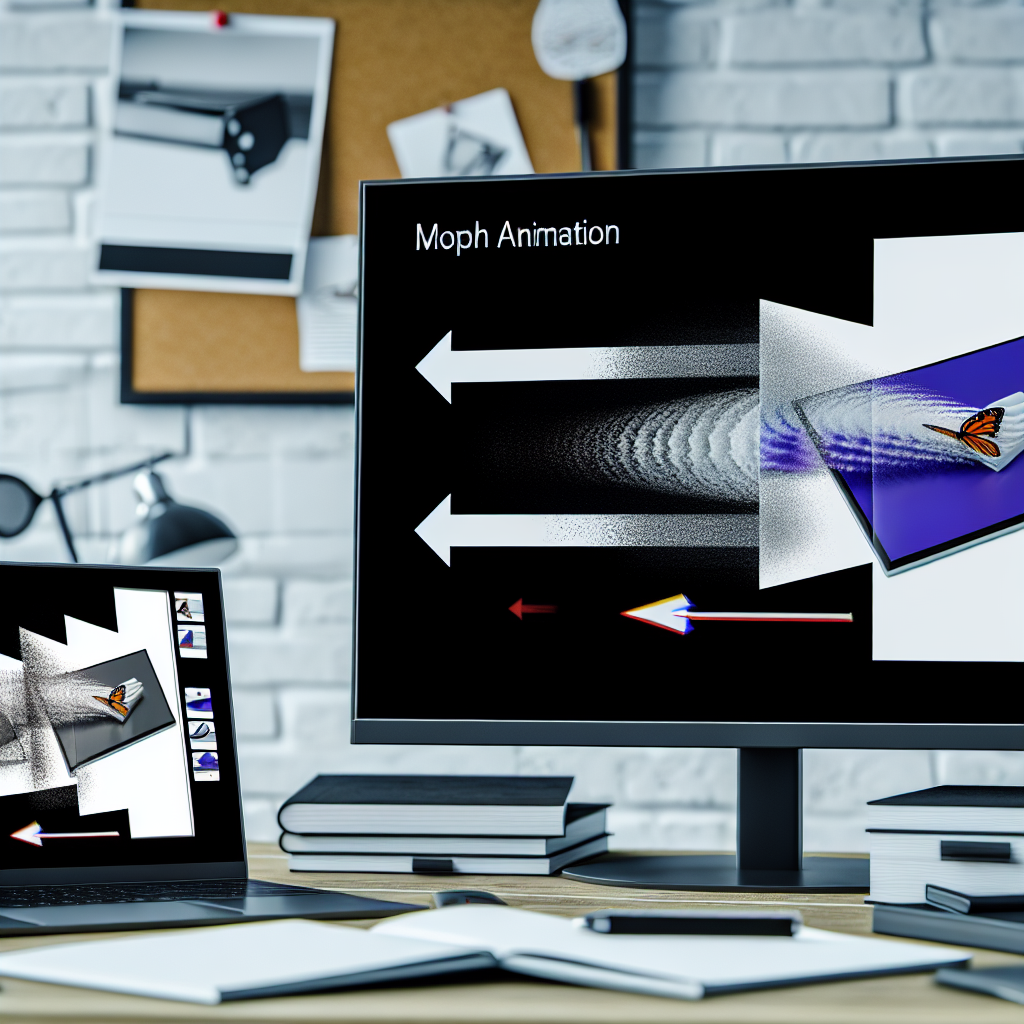
The Morph feature in PowerPoint is designed to create smooth, animated transitions between slides that contain similar objects or elements. Instead of static changes, Morph allows shapes, images, text, and other elements to transform effortlessly—changing size, position, color, or even shape—creating a captivating visual flow.
Before diving into the step-by-step tutorial, it’s important to understand the potential of Morph. When used correctly, it eliminates the need for complex animations, saving time while improving the overall aesthetic of your presentation. Morph works best when objects are consistently named or placed logically across slides, ensuring the transition appears natural and fluid.
To get started, ensure your PowerPoint version supports Morph (PowerPoint 2016 and later). Prepare your initial slide with all objects you want to animate, then duplicate the slide for editing. This setup makes it easier to apply the Morph transition correctly and achieve professional-looking effects.
How to Create a Presentation with Cool Morph Animations in PowerPoint
Step 1: Set Up Your First Slide
- Create a new slide and add all elements you wish to animate, such as shapes, images, or text boxes.
- Name each object clearly in the Selection Pane (optional but helpful for complex animations) to keep track of changes.
Step 2: Duplicate and Modify the Slide
- Duplicate the initial slide to maintain the original layout as a reference.
- In the duplicated slide, reposition, resize, or change the appearance of your objects to create the desired transformation.
Step 3: Apply the Morph Transition
- Go to the second slide, then on the PowerPoint ribbon, select Transitions.
- Choose Morph from the transition options.
- Adjust the transition duration as needed for smoothness.
Step 4: Preview and Fine-Tune
- Play your slideshow to preview the transition.
- If the animation isn’t perfect, revisit the positioning or naming of objects to improve the flow.
- For more intricate effects, consider layering multiple Morph transitions or combining with traditional animations.
Advanced Tips:
- Use consistent object names across slides to ensure seamless morphing.
- Utilize the Selection Pane to hide or show objects strategically during the animation sequence.
- Combine Morph with entrance and exit animations for more creative control.
Applying Morph in PowerPoint is a straightforward yet powerful way to make your presentations outstanding. By following these steps, you can quickly create impressive animations without complex coding or extensive design skills. Experiment with different objects and transition timings to develop a polished, professional presentation that captivates your audience.
Conclusion
Mastering the Morph transition in PowerPoint unlocks a new level of presentation design, allowing for smooth, eye-catching animations that enhance storytelling. This quick tutorial demonstrated how to set up objects, duplicate slides, and apply Morph effects easily. With some practice, you can produce visually stunning slideshows that leave a lasting impression on your audience. Start experimenting today and elevate your presentation skills effortlessly.