Looking to streamline your Autodesk Revit workflow? Installing Navisworks Exporter and Navisworks Freedom can significantly enhance project collaboration and model review capabilities. In this guide, we’ll walk you through step-by-step instructions on how to install these essential tools, ensuring you maximize their benefits in your design process.
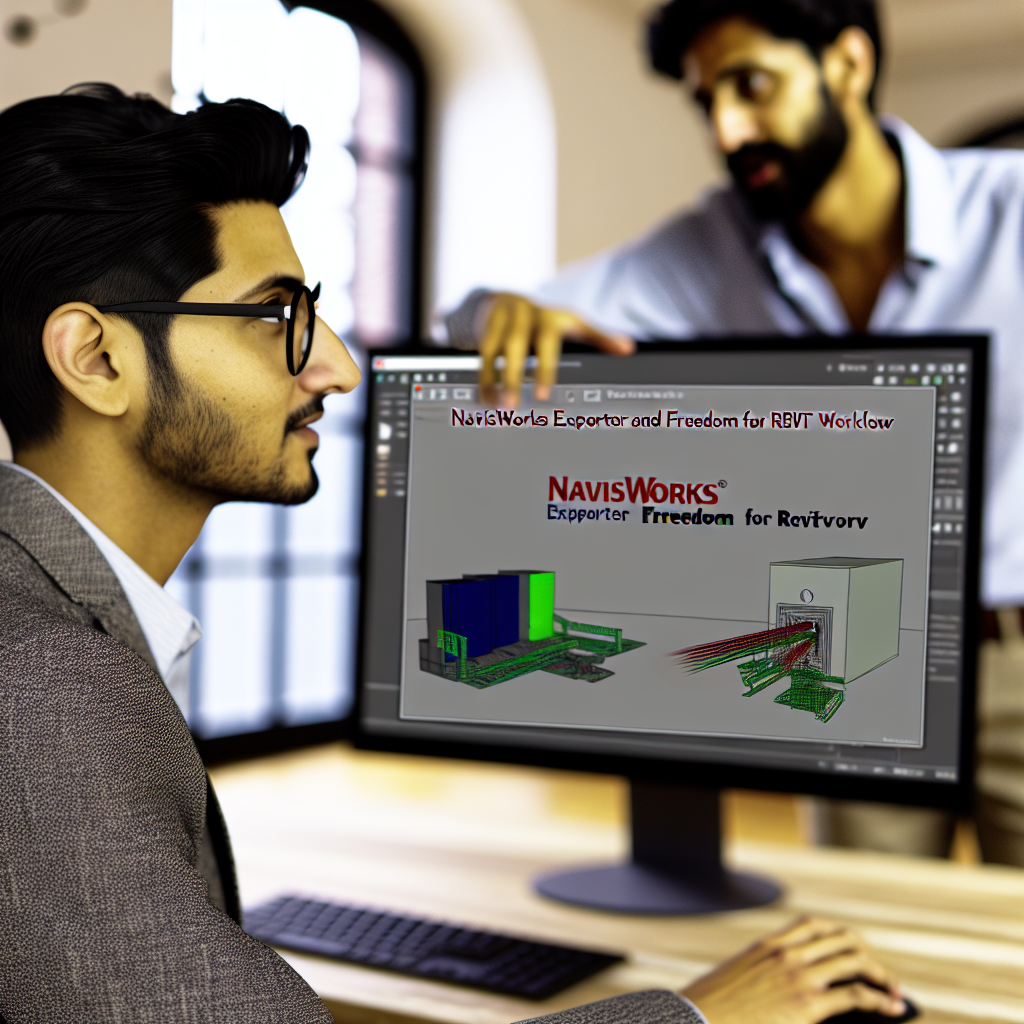
Understanding the Role of Navisworks Exporter and Navisworks Freedom
Before diving into the installation process, it’s important to understand the distinct roles of these two tools:
- Navisworks Exporter: A plugin that allows Revit and other Autodesk software to export models in NWC or NWD formats compatible with Navisworks. This enables seamless model review, clash detection, and coordination among project stakeholders.
- Navisworks Freedom: A free viewer tool that allows users to open and review Navisworks project files without needing a full Navisworks license. It’s ideal for project teams and clients who need read-only access to models.
Proper installation of both components ensures smooth data sharing and effective collaboration. Let’s explore how to install each one properly to optimize your Revit projects.
Installing Navisworks Exporter and Navisworks Freedom: Step-by-Step Guide
1. Downloading the Required Software
Start by visiting the official Autodesk website or authorized reseller portals to download the latest versions of the Navisworks Exporter plugin compatible with your Revit version. For Navisworks Freedom, download the latest free version available on Autodesk’s official site. Ensure your system meets the software’s hardware and OS requirements to prevent installation issues.
2. Installing Navisworks Exporter Plugin
- Locate the downloaded installer and double-click to run it.
- Follow the on-screen prompts, choosing the appropriate Revit version you are using (e.g., Revit 2024).
- During installation, enable the plugin, ensuring it is integrated correctly with Revit. You may need to select the components you wish to install, such as exporters for different file formats.
- Finish the setup and restart Revit to recognize the new exporter tools in the ribbon.
After installation, verify the plugin’s function by opening Revit, navigating to the export options, and checking for Navisworks export formats. This integration is critical for transferring models seamlessly to Navisworks for review.
3. Installing Navisworks Freedom
- Run the Navisworks Freedom installation file you downloaded, following the standard installation wizard.
- Accept the license agreement and choose the desired installation directory.
- Complete the installation by clicking ‘Finish.’
Once installed, open Navisworks Freedom to familiarize yourself with its interface. Now, you can open Navisworks files (.nwd, .nwc) exported from Revit or other Autodesk software and review models with full read-only access.
Ensuring both tools are correctly installed and integrated into your workflow will enhance project collaboration and viewing capabilities, ultimately boosting productivity and project accuracy.
To sum up, installing the Navisworks Exporter plugin within Revit and Navisworks Freedom as a viewer is straightforward but crucial for efficient project management. By following these detailed steps, you ensure smooth model exports and stakeholder reviews, making your design and collaboration processes more effective. Equip yourself with these tools to maximize your BIM workflow today!