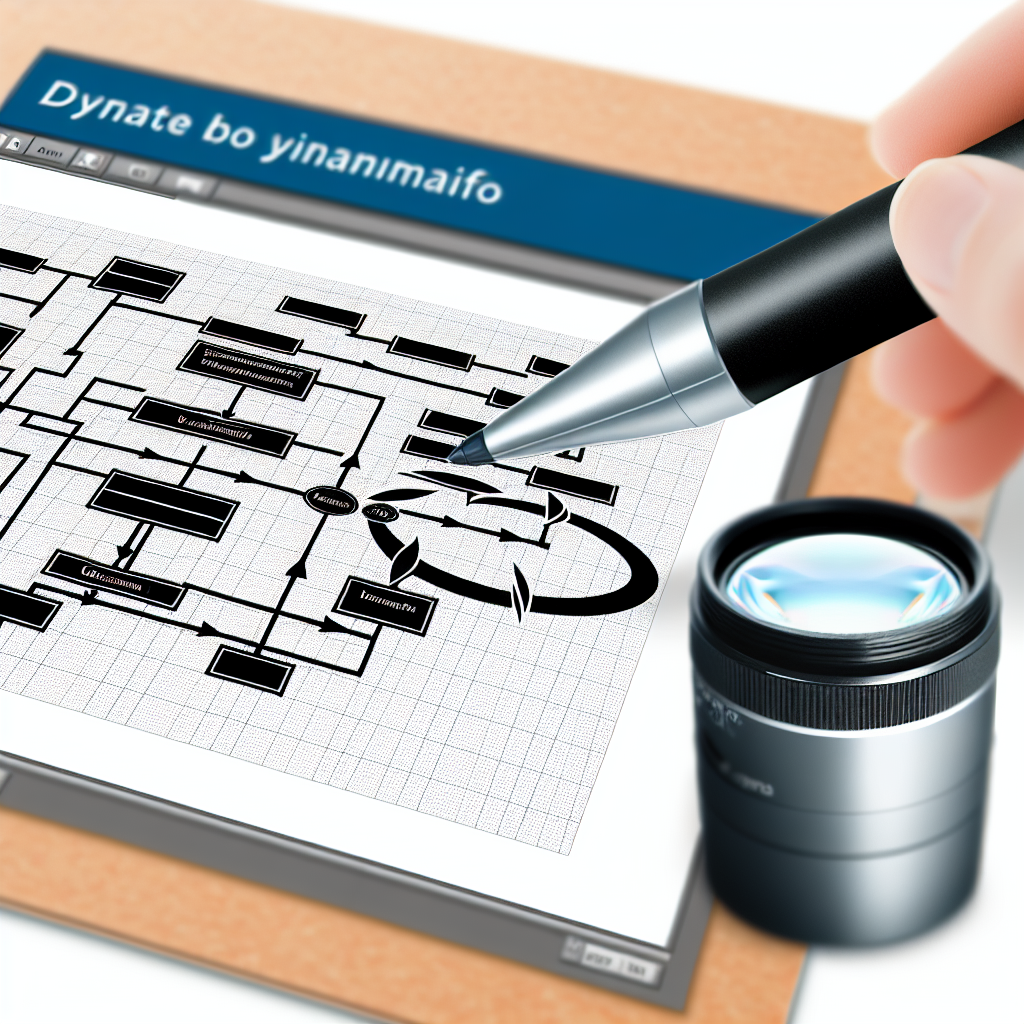
Adding custom images to Dynamo packages and nodes can significantly enhance the visual clarity and user experience of your workflows. Custom visuals help in better illustrating functionalities, branding, and making complex processes more understandable. In this article, we will explore effective methods to integrate custom images into Dynamo packages and nodes, empowering you to create more intuitive and visually appealing scripts.
Understanding the Role of Custom Images in Dynamo Nodes and Packages
In Dynamo, nodes and packages serve as the fundamental building blocks for automating and customizing workflows within Autodesk Revit. While default icons and visuals are functional, custom images play a pivotal role in enhancing visual communication and workflow organization. They aid users in quickly identifying specific nodes or packages, especially when working with complex graphs or large projects.
Incorporating custom images is not just about aesthetics; it is also about functional clarity. A well-designed icon can instantly convey the purpose of a node, reducing the need for lengthy textual descriptions and improving overall productivity. This process involves replacing default graphics with tailored images that align with your specific project or organizational standards.
How to Add Custom Images to Dynamo Packages and Nodes
To effectively add custom images, you need to understand both the technical setup and best practices involved in the process:
- Design or source your images: Use graphic editors such as Adobe Photoshop or free alternatives like GIMP to create icons that are clear at small sizes. Maintain consistency in style and size to ensure a professional look.
- Optimize image formats: Save images in formats that support transparency and high quality, such as PNG. Keep the image size optimized to avoid impacting Dynamo’s performance.
- Replace default icons in nodes: In Dynamo, custom icons can be assigned to nodes by editing their .dyf files or using scripting methods like Python scripts to programmatically set images.
- Implement custom images in packages: When creating custom packages, incorporate your images within the package structure. Use relevant, identifiable icons for each node which refer to your images, and set these in the node’s properties or via a Dynamo script during package installation.
- Leverage Dynamo Extensions or Packages: Utilize extensions or community packages that facilitate icon customization, streamlining the process and ensuring your visuals remain consistent across projects.
Remember, testing your images across different screens and resolutions is essential to ensure clarity and readability. Consistency in icon style also promotes better recognition and workflow efficiency.
Final Thoughts
Adding custom images to Dynamo nodes and packages is a highly effective way to improve visual communication and workflow management within your projects. By designing tailored icons, optimizing image formats, and integrating them strategically in Dynamo workflows, users can create more intuitive, visually appealing automation tools. Implementing these practices enhances clarity, branding, and collaboration, making your Dynamo scripts stand out and work more efficiently. Embrace customization to elevate your Dynamo experience and streamline your Revit automation projects.
