Creating a parametric family in Autodesk Revit is a powerful technique that enhances flexibility and efficiency in your design process. By mastering this skill, you can develop adaptable components that respond to design changes automatically. In this guide, we’ll explore the essential steps to create a parametric family in Revit, ensuring you can implement this technique confidently.
Understanding the Fundamentals of Revit Families and Parameters
Before diving into the creation process, it’s crucial to understand the core concepts of Revit families and parameters. Revit families are reusable components that can be embedded within your projects, from doors and windows to custom furniture. They are classified into three types: system families, loadable families, and in-place families.
Parameters are the properties that define the behavior and appearance of these families. They can be instance parameters, which affect individual elements, or type parameters, which influence all instances of a family type. Learning how to set and link parameters is the foundation for creating a robust parametric family that adapts to your design needs.
Step-by-Step Process to Create a Parametric Family in Revit
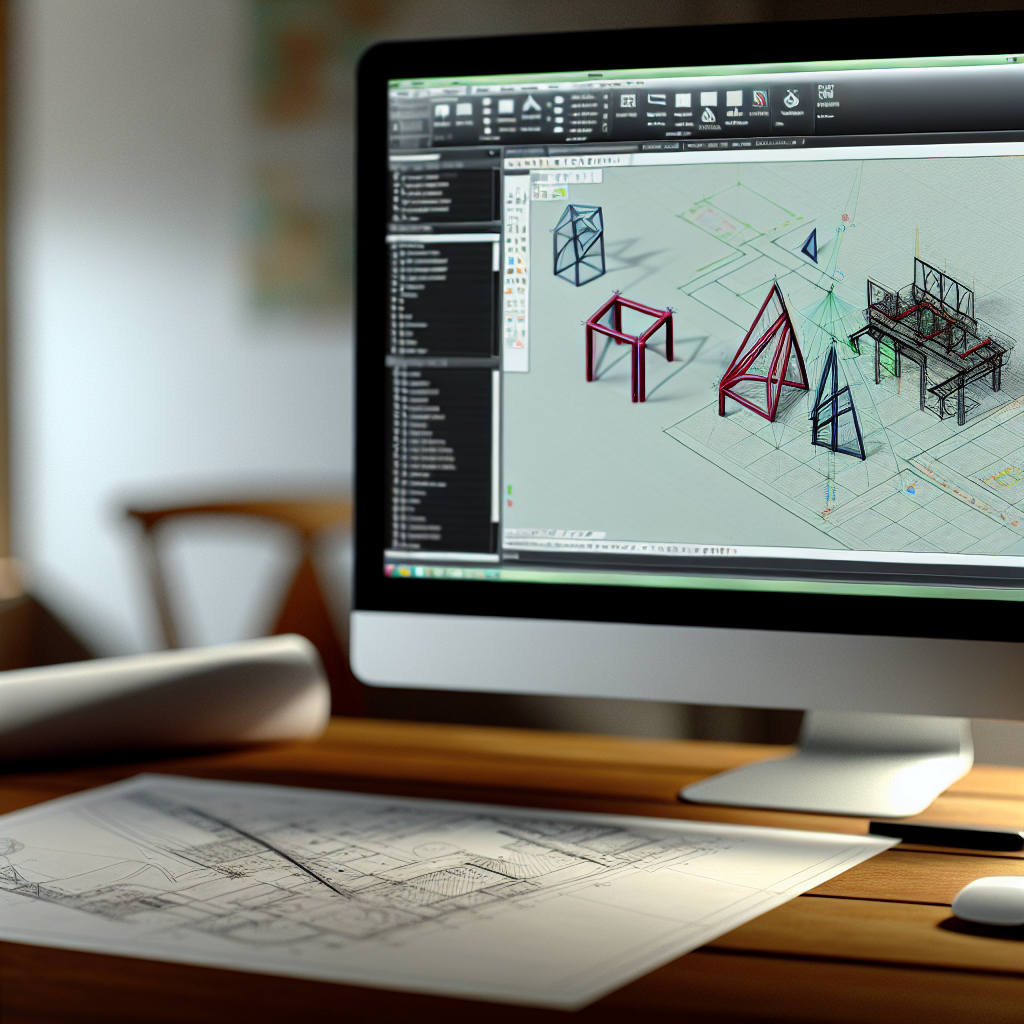
Creating a parametric family in Revit involves a structured workflow to ensure your components are flexible and correctly linked. Follow these steps:
- Start with a New Family Template: Open Revit, go to File > New > Family, and choose an appropriate template that matches your component (e.g., Generic Model, Door, Window).
- Define the Geometry: Use Revit’s modeling tools to create the basic shape of your component. Keep in mind that the geometry should be simple enough to enable easy parameterization.
- Add Parameters: Go to Create > Family Types, then click Add to define parameters such as length, width, height, or other attributes relevant to your component. Assign parameter types (length, angle, yes/no, etc.) accordingly.
- Link Geometry to Parameters: Constrain your geometry by associating dimensions with the parameters you’ve added. Use the Align, Lock, and Dimension tools to create relationships that automatically update when parameters change.
- Test and Refine: Adjust parameter values in the Family Types dialog to ensure the geometry updates correctly. Make necessary adjustments to constraints and parameters to optimize flexibility.
- Load and Test Your Family: Save your family file, load it into a Revit project, and test its behavior by changing parameter values. This step confirms that your family reacts as expected across different variations.
By following this process, you establish a dynamic and adaptable family that enhances your modeling efficiency and project consistency. Remember, the key to successful parametric families is meticulous constraint management and thorough testing.
Conclusion
Mastering the creation of parametric families in Autodesk Revit significantly improves your ability to develop flexible, reusable components tailored to your project needs. Understanding the fundamentals of families and parameters, coupled with a systematic workflow, ensures your families are both functional and adaptable. With practice, you’ll streamline your design process and produce more versatile models.