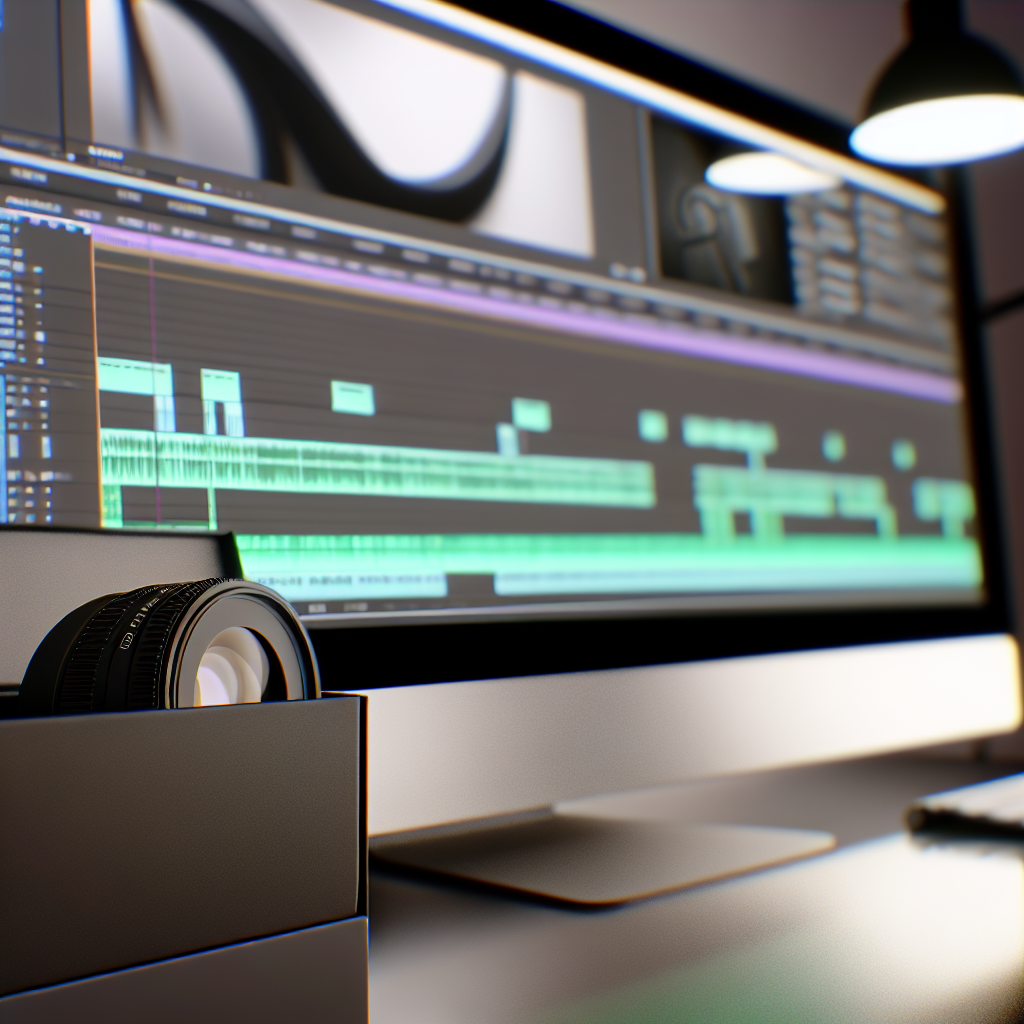
Are you tired of choppy and unresponsive timelines in Adobe Premiere Pro? By default, Premiere Pro comes with a setting that can significantly hinder your editing experience, especially when working on complex projects. In this article, we’ll explore the essential setting you need to change immediately for a smoother editing workflow and improve overall performance.
Understanding the Default Timeline Rendering Setting in Premiere Pro
Premiere Pro’s default settings often prioritize compatibility over performance, which can result in sluggish timelines during editing. One critical setting that influences timeline responsiveness is the preview rendering mode. By default, Premiere may set this to *”Playback Quality”*, which means it renders previews at a lower quality to prevent lag. However, this mode can create choppiness when scrubbing or playing back complex sequences.
Additionally, the *\”Optimize Rendering for\”* feature is set to basic levels by default, which sometimes doesn’t utilize your hardware’s full potential. This setup can cause delays and reduce editing fluidity, especially on systems with powerful GPUs and CPUs. Adjusting these default settings allows Premiere Pro to leverage your system’s capabilities, delivering **smoother timelines** and a more efficient editing process.
How to Change the Default Setting for a Smoother Timeline Experience
The key to achieving a smooth timeline in Premiere Pro involves switching from the default rendering mode to a more performance-optimized setting:
- Access the Sequence Settings: Right-click on your sequence window and select Sequence Settings.
- Change the Renderer: Locate the Video Rendering and Playback section and set the Renderer from Mercury Playback Engine Software Only to Mercury Playback Engine GPU Acceleration (CUDA, OpenCL, or Metal) depending on your hardware.
- Enable Hardware Acceleration: Ensure that hardware acceleration options are turned on in the Premiere Pro preferences: Edit > Preferences > General > Renderer.
- Adjust Preview Settings: For more advanced control, go to Sequence > Sequence Settings > Preview File Format. Choose a format that allows faster rendering, such as QuickTime with the ProRes codec, for smoother playback.
By making these adjustments, Premiere Pro will utilize your GPU more effectively, resulting in less lag, faster rendering, and a **smoother timeline** experience. Be sure to regularly review these settings as project complexity increases or hardware upgrades are made.
In conclusion, changing this default timeline rendering setting in Adobe Premiere Pro is essential for a more efficient editing workflow. Moving from the standard setup to GPU acceleration significantly improves timeline smoothness, reduces lag, and enhances overall productivity. Implement these adjustments today to enjoy seamless editing and achieve professional-quality results faster.