The Revit Dynamo Package is an essential tool for enhancing workflow efficiency within Autodesk Revit by leveraging visual programming. Learning how to properly install and manage this package can significantly streamline design processes and automate repetitive tasks. In this article, we will explore the step-by-step installation process and key management tips to optimize your Dynamo experience.
Installing the Revit Dynamo Package: A Step-by-Step Guide
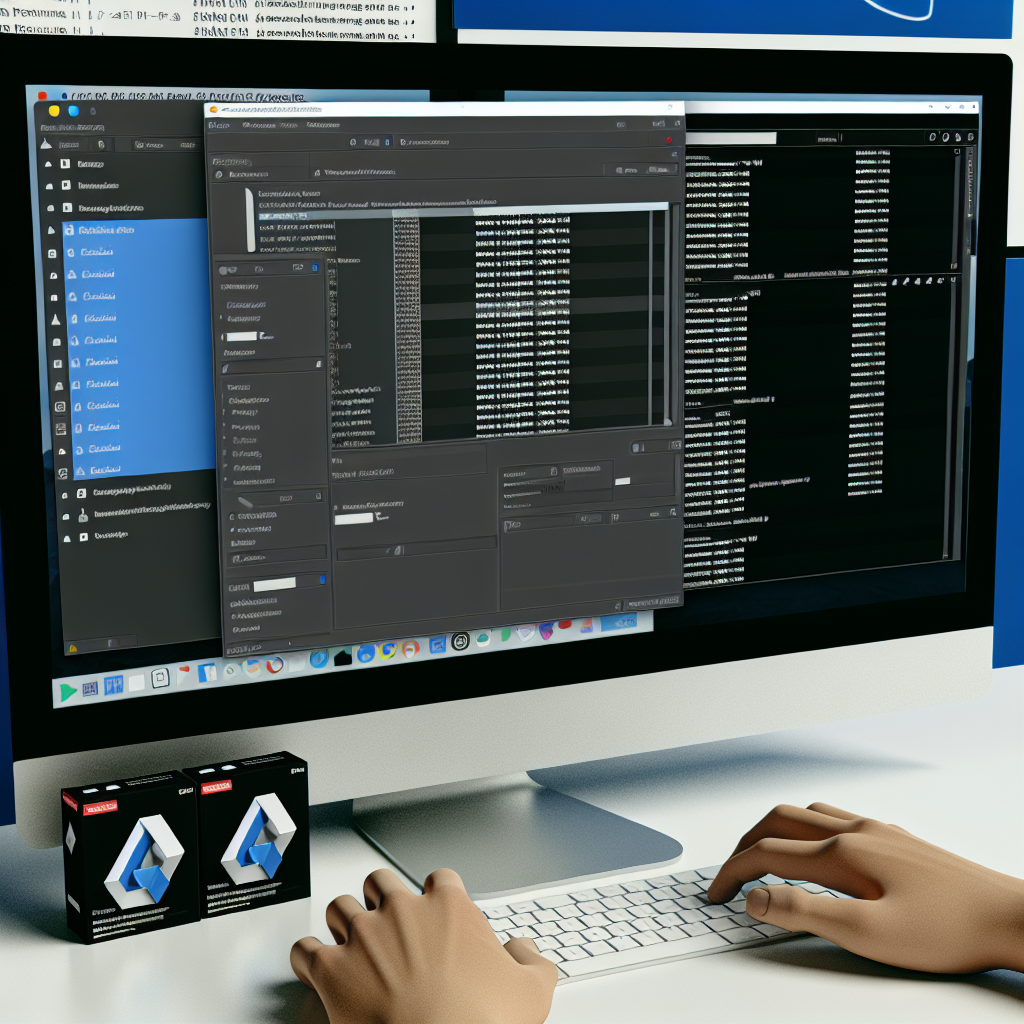
Installing the Dynamo Package in Revit is a straightforward process but requires attention to compatibility and version updates for seamless operation. Begin by ensuring that your Revit software is up-to-date, as Dynamo versions are often linked to Revit releases, reducing potential errors.
- Download the Dynamo Package: Visit the official Dynamo BIM website or the Autodesk App Store to find the latest stable release or specific packages needed for your projects. Always verify the package’s compatibility with your Revit version.
- Install Dynamo: The Dynamo installer often comes bundled with Revit or can be installed separately. For standalone installations, run the setup file and follow the on-screen prompts, ensuring you select the appropriate components needed for your workflow.
- Activate the Package: After installation, open Revit and navigate to the “Add-ins” tab. Here, you should find the Dynamo menu. If the package is properly installed, it will appear within the Dynamo interface, ready to be used or further customized.
Optional: For advanced users, custom packages or additional plugins can be integrated by placing the files into the Dynamo packages folder, typically located within your user profile. Keep backups and document your package installations to facilitate future troubleshooting and updates.
Managing and Optimizing the Dynamo Package in Revit
Effective management of your Dynamo Package entails keeping your libraries organized, updating packages regularly, and customizing workflows to suit project needs. Start by accessing the Dynamo Package Manager, which allows you to browse, install, update, or remove packages directly within Revit.
- Updating Packages: Regularly check for updates to ensure compatibility and access new features. The Package Manager simplifies this process by showing available updates and allowing one-click installation.
- Organizing Custom Nodes and Scripts: Develop a structured folder hierarchy for your custom scripts and nodes. Use descriptive naming conventions to easily identify workflows. Consider creating personal or project-specific libraries to streamline your tasks.
- Backup and Version Control: Maintain backups of your Dynamo scripts and packages, especially for complex projects. Employ version control systems or cloud storage solutions to preserve your configurations and facilitate rollback in case of errors.
- Community and Support: Engage with the Dynamo BIM community for support, sharing best practices, and discovering new packages that can further enhance your project delivery. Regularly participating in community forums can also lead to innovative workflow improvements.
In conclusion, mastering the installation and management of the Revit Dynamo Package empowers users to unlock advanced automation capabilities, increase productivity, and maintain clean, organized projects. Following systematic steps and best practices ensures your Dynamo environment stays efficient, reliable, and aligned with evolving project requirements. Start exploring today to elevate your Revit experience!