Creating realistic brickwork in Revit is essential for architects and designers aiming to produce detailed and accurate building models. This comprehensive tutorial guides you through the process of designing, applying, and customizing brick patterns within Revit, enhancing the visual appeal and technical accuracy of your projects.
Understanding Brickwork in Revit: Foundations and Material Setup
Before diving into creating brick patterns, it is crucial to understand how Revit handles materials and wall structures. Revit’s material editor allows users to define and customize the appearance of brickwork, including color, texture, and joint details. To start, access the Material Editor via the Manage tab, then create or duplicate a material suitable for brickwork.
Once the material is set, you can assign it to walls or custom wall types. It is beneficial to create a dedicated brick wall type with specific properties such as thickness, layer composition, and surface pattern. Properly managing these settings ensures your brickwork looks realistic and aligns with project specifications.
Understanding the importance of pattern and joint configurations is key. Revit allows you to specify the brick pattern (running bond, herringbone, etc.) and joint details (head joints, bed joints). Adjusting these parameters during material creation ensures your brickwork accurately reflects real-world construction standards.
Applying and Customizing Brickwork Patterns in Revit
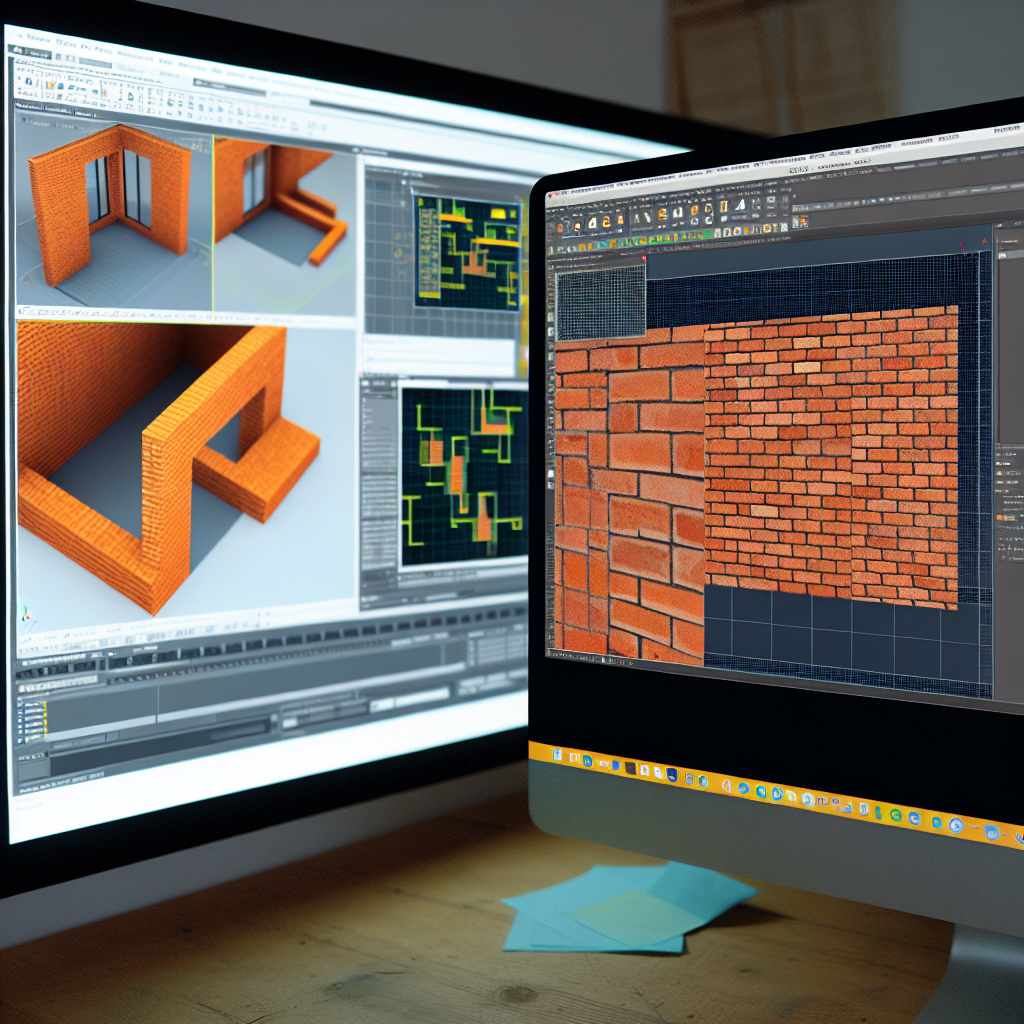
With your materials and wall types configured, the next step is to visually apply brickwork to your model. Revit offers several methods, including the use of Wall Patterns and Surface Patterns, to simulate brick textures on wall surfaces. To enhance realism, you can also use Rendering tools and imported textures.
Creating custom brick patterns involves leveraging Revit’s Pattern Tool within the Material Editor. By editing the surface pattern, you can select from existing brick layouts or import custom patterns to match specific project requirements. This process allows for detailed control over the size, spacing, and orientation of bricks.
For more advanced customization, consider creating Repetitive Pattern Files (RVT) that can be imported into your project. These files enable you to layer complex brick designs, including varying bond patterns or decorative bricks, to significantly improve aesthetic detail. Additionally, learn how to use the Repeat Command and Array Tool to efficiently replicate patterns across large surfaces.
In conclusion, mastering brickwork in Revit involves understanding material setup, wall configuration, and pattern customization. By carefully selecting and applying textures, you can significantly enhance the realism of your models. Whether you’re designing simple brick walls or intricate decorative elements, these techniques will elevate your Revit projects and provide more accurate visualizations for clients and stakeholders.